Hanging your panel light on a door is one of the simplest and most space-efficient ways to set up your device. Below are the step-by-step instructions for both the BQ60 model and the larger BQ150 & Pro Series panels.
For BQ60
- Lay out all included hardware on a flat surface.
- Connect the handle of the device to the silver hook on the adjustable rope.
- Pull the black rope to raise or lower the panel to the desired position.
This method allows for a quick and convenient installation on most standard doors.
For BQ150 & Pro Series
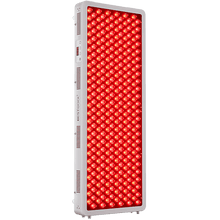
Because of the size and weight of these panels, two people are required for safe installation.
- Place all included hardware on a flat surface. Connect the braided steel cable to the top of the device.
- Attach the device to the adjustable rope using the steel cable.
- Secure the door hook over the door, then connect the adjustable rope (with the device attached) to the hook.
- To raise the device:
· One person supports and lifts the device to the desired height.
· The other person pulls down on the adjustable rope to lock it into place.
- To lower the device:
· One person supports the device.
· The other person releases the height adjustment buckle on the rope to lower the device safely.
Safety Notes
- Always ensure the door is strong and fully closed before hanging the device.
- For larger models, do not attempt installation alone. Having two people ensures safe and stable operation.
- Double-check all hooks, cables, and ropes before use.


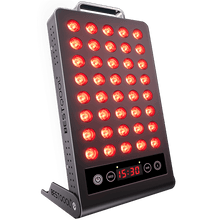
 Small
Small
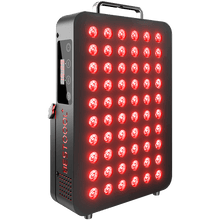
 Moderate
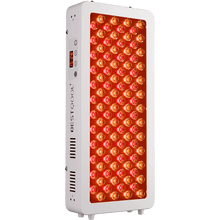
 Moderate
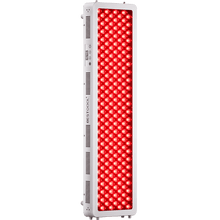
 Moderate
 Full
Full


